How do you eliminate blur?
a) Change F-stops
b) Change Shudder Speed
c) Zoom in/out
d) Change ISO

Thursday, October 28, 2010
High Contrast

3rd times the charm , eh? Well finally on my third try on this, it finally works!
I had the light about a meter away from her, and a little behind (not much tho) and the reflector in front a little, replecting the light up.
I used the protocols as usual. And thats about it ^^ I used the Curve a little, but it was pretty good the way it was already.
I'm glad it finally worked!
A-Assignment: Layers+Depth Of Field+Rule Of Thirds+Fall Theme
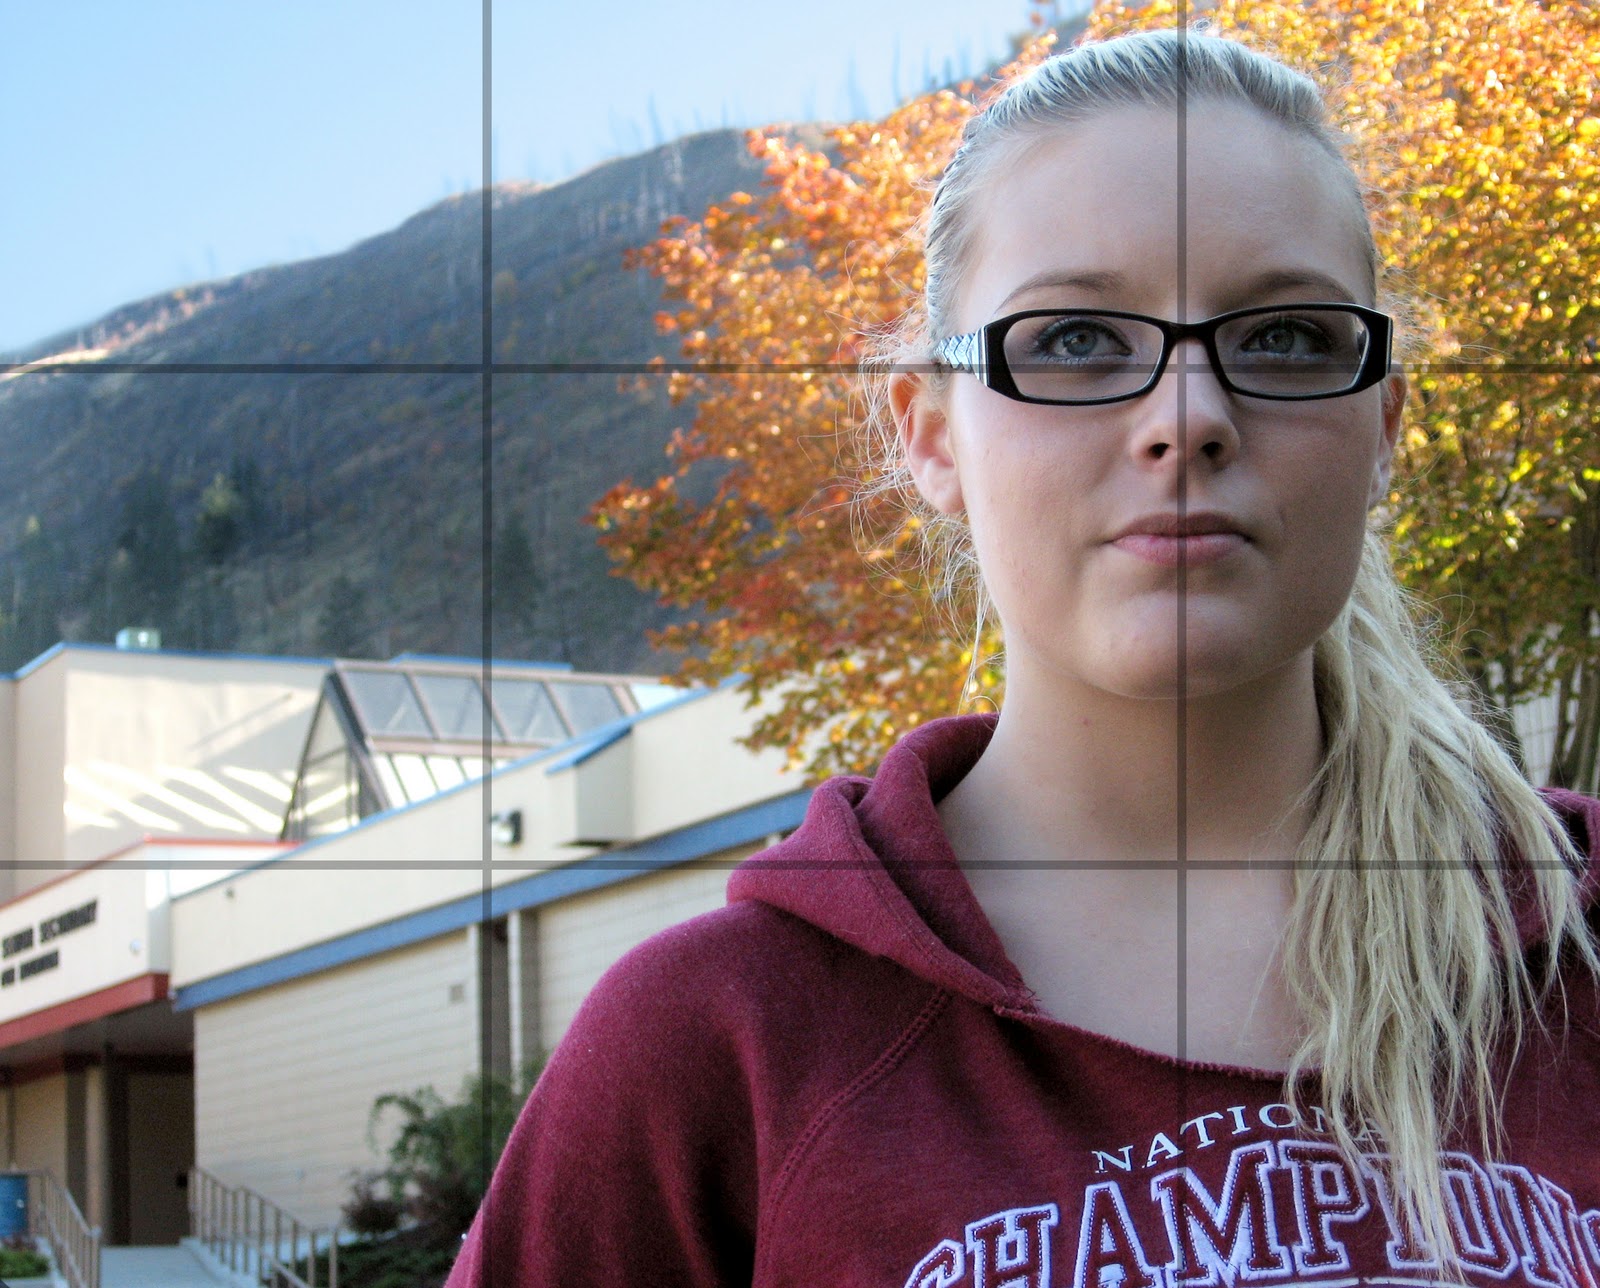
The Layers came in with the sky. The color had nearly washed out with all of what I did, so I created a new layer(From the original Image) and erased all but the sky. So the sky is now blue(from the original) and not nearly white. ^^
The Depth of Feild comes in with the background. I originaly shot the picture just for the assignment of Depth Of Feild, but I got a better one for that. So I used this one here. I like the way the background blurred.
Lexee is more to the right, so thats where the Rule Of 3rds comes in.
It is Fall Theme because theres a yellow, orange and red tree in the background.
Depth Of Feild

I took Lexee out to the MPR, set a low F#. Then I zoomed in a little, and focused on Lexee, making the background blur. Then with Photoshop, I used the protocols and then used the color replace brush and made her eyes a more bright blue. Then I took out the color from the rest of the image, leaving only the eyes.
Then I made a new layer and Surface Blurred it, and then erased parts to bring back her eyes, hair and lips. I did this because I think it looked better. Then I flattened it, and saved it.
Friday, October 15, 2010
Makeover

First I used the protocols, then I used the Channel Mixer and changed it to Monochrome. I upped the Red and blue a little to bring out details.
Then i removed some spots on the skin using the Spot Healing Brush and the Clone Stamp Tool.
Then I created a new layer from the background and used the Serface Blur on it. Then I used the erase tool, with a low flow and High Opacity to bring back in the eyes, eyebrows, and lips.
Then i flattened the image and saved it.
Wednesday, October 6, 2010
Fall Light+Layers+Duo-tone+Rule Of 3rds

First off, I used the protocalls to fix up the image.
2nd, I made 2 layers and blured the background.
Then i cropped the image and added the rule of 3rds lines in a new layer.
Then i sponged the color out from my background and blurred the edge of the foreground.
Then i created a new layer in front of the background but behind the foreground. I made that layer blue, turquoise and green, blended that together and changed the opacity so the background showed through. So its basically a gradient duotone in the background.
Then i flattened the image and saved it.
Monday, October 4, 2010
Summer Light
Even though this was not required, i did it anyways.
These were captured in the morning.
Taken in my backyard and on my street.
I used the sun and shadows to take these(as that was the assignment)


These were captured in the morning.
Taken in my backyard and on my street.
I used the sun and shadows to take these(as that was the assignment)


Subscribe to:
Posts (Atom)